Home / Getting Started
Getting Started
This is a quick guide of how to install and use the plugin.
1.- Get the plugin from the Unreal Engine Marketplace and install it into your Unreal Engine version via the Epic Games Launcher.
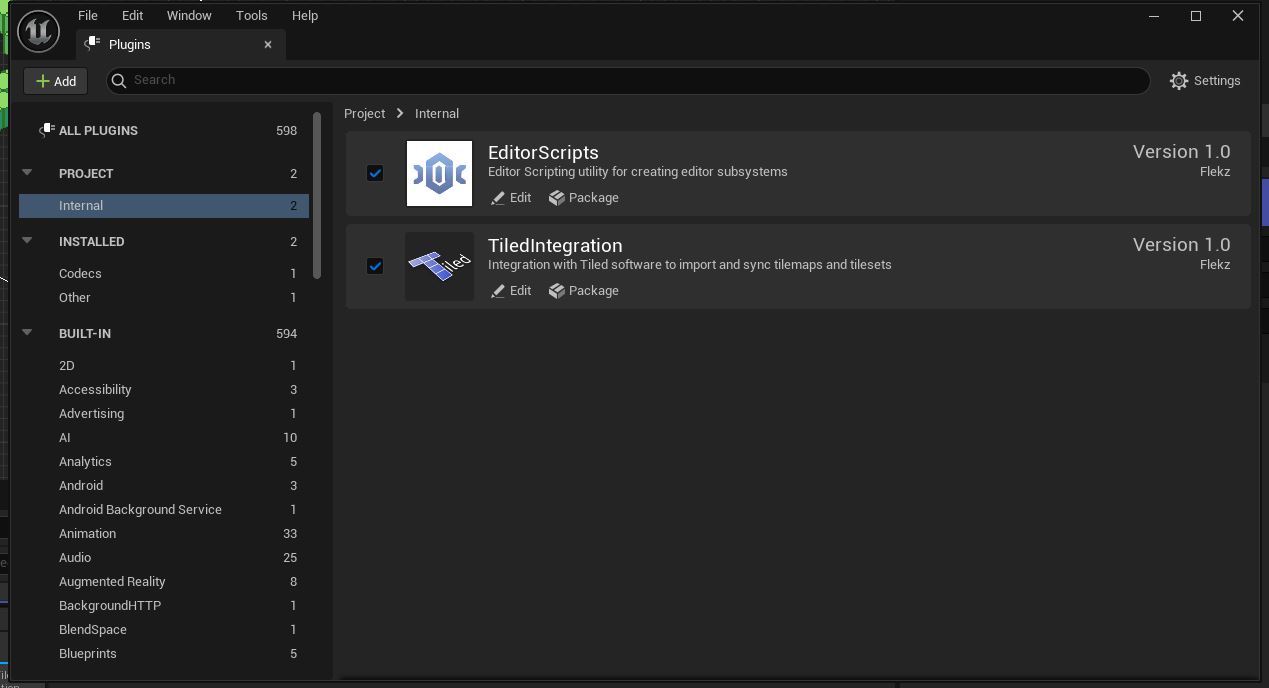
2.- Create a new project or open an existing one and activate the plugin in Edit > Plugins > TiledIntegration. You will have to restart Unreal Engine afterwards.
3.- After restarting Unreal Engine, you should see a new icon on the toolbar next to the play button.

4.- If you click it it should open the Control Panel from where you will be able to manage the Tiled Resources.
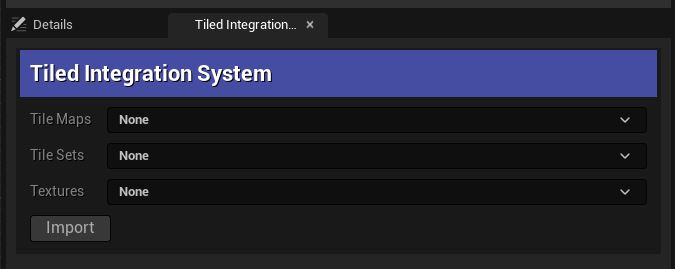
5.- To get started simply click on the Import button at the bottom and look for a Tiled Tile Map or Tile Set file to import.
For more details on how to import Tiled files, refer to the following guides:
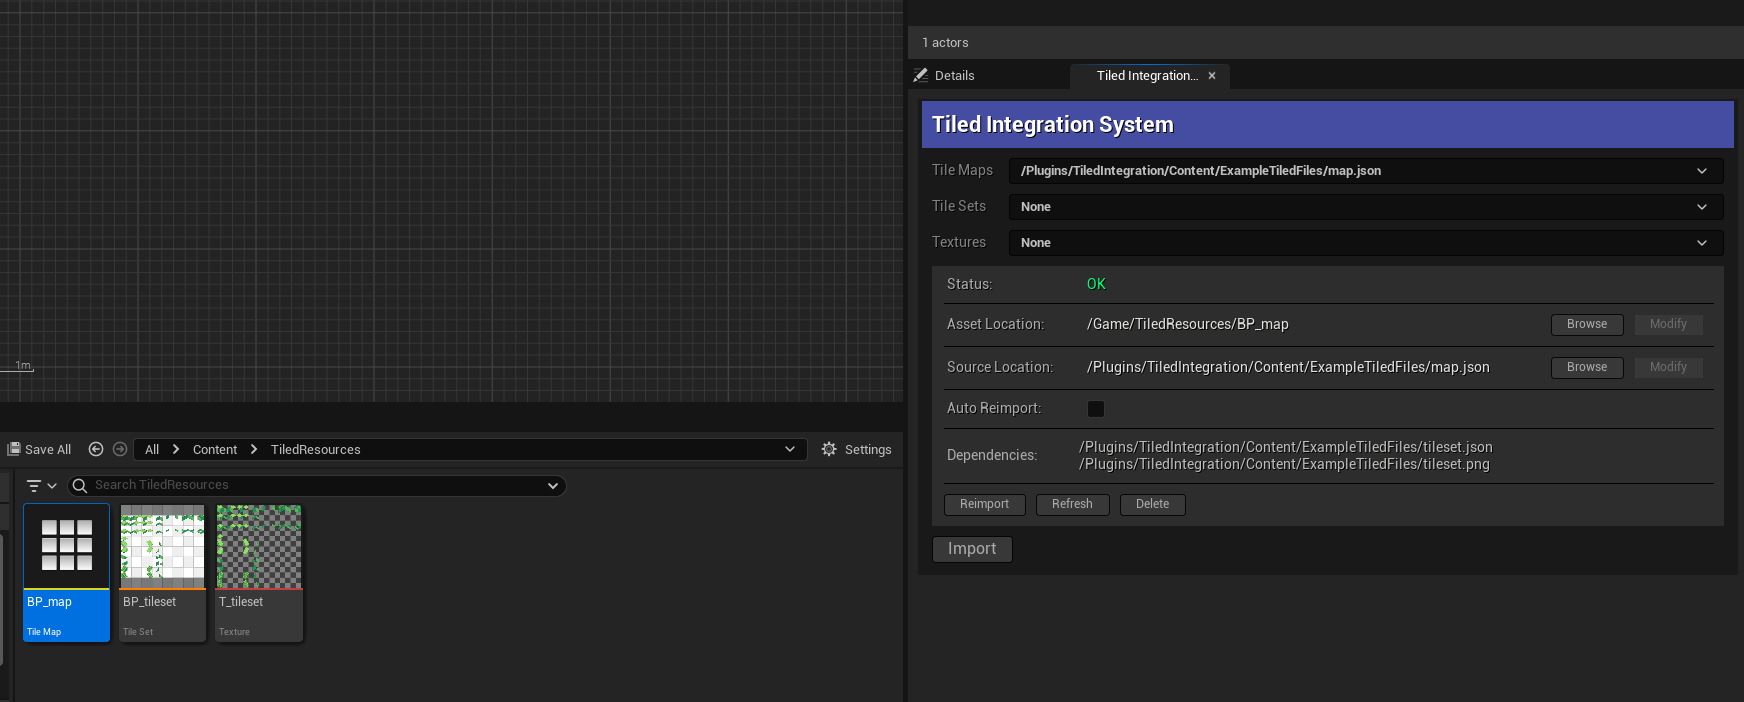
6.- If everything went well, you should see your imported assets in the place where you specified it as well as a new dropdown option on the Control Panel from where you can manage your imported assets. From this menu you will be able to do the following:
- Status: Check if the asset or the file has any issues.
- Asset Location: See and navigate to the location of the Unreal Engine Asset.
- Source Location: See and navigate to the location of the Tiled Asset.
- Auto Reimport: Set if the plugin should reimport the Tiled Asset when it detects a change.
- Dependencies: Check the list of Tiled Assets that the selected asset depends on.
- Used By: Check the list of Tiled Assets that use the selected asset.
- Reimport: Manually reimport the selected asset.
- Refresh: Refresh the information in the Control Panel.
- Delete: Delete the selected asset from Unreal Engine and it’s dependencies.
7.- If you want to quickly find a specific imported assets you can use the filter tool next to the dropdown which will let you filter by the name of the asset.